Frequently Asked Questions
How do you choose the right nail form size for PolyGel?
Once you get your PolyGel Kit, choose a nail form that covers the natural nail. This should be from sidewall to sidewall without sitting too tightly against the skin. Before adding PolyGel, place the empty forms over each nail and compare the available sizes so you can choose the closest match.
If one size looks slightly small and the next size looks slightly large, go with the larger option and refine the fit where needed. A form that’s too small can pinch the nail, create pressure, or leave the enhancement narrower than the natural nail.
Plus, not every finger will use the same size since natural nails can vary across the set. Some may be flatter, deeper, wider, or more curved, which changes how the form sits. The idea is to create an enhancement that follows the nail’s natural width while giving you enough room to place and shape the product properly.
With this, our kit includes 120 reusable nail tip guides. We give you a practical size range to test before moving into the application, so you gain confidence and a better chance of achieving a balanced finished shape.
Can I apply gel polish or nail art over PolyGel nails?
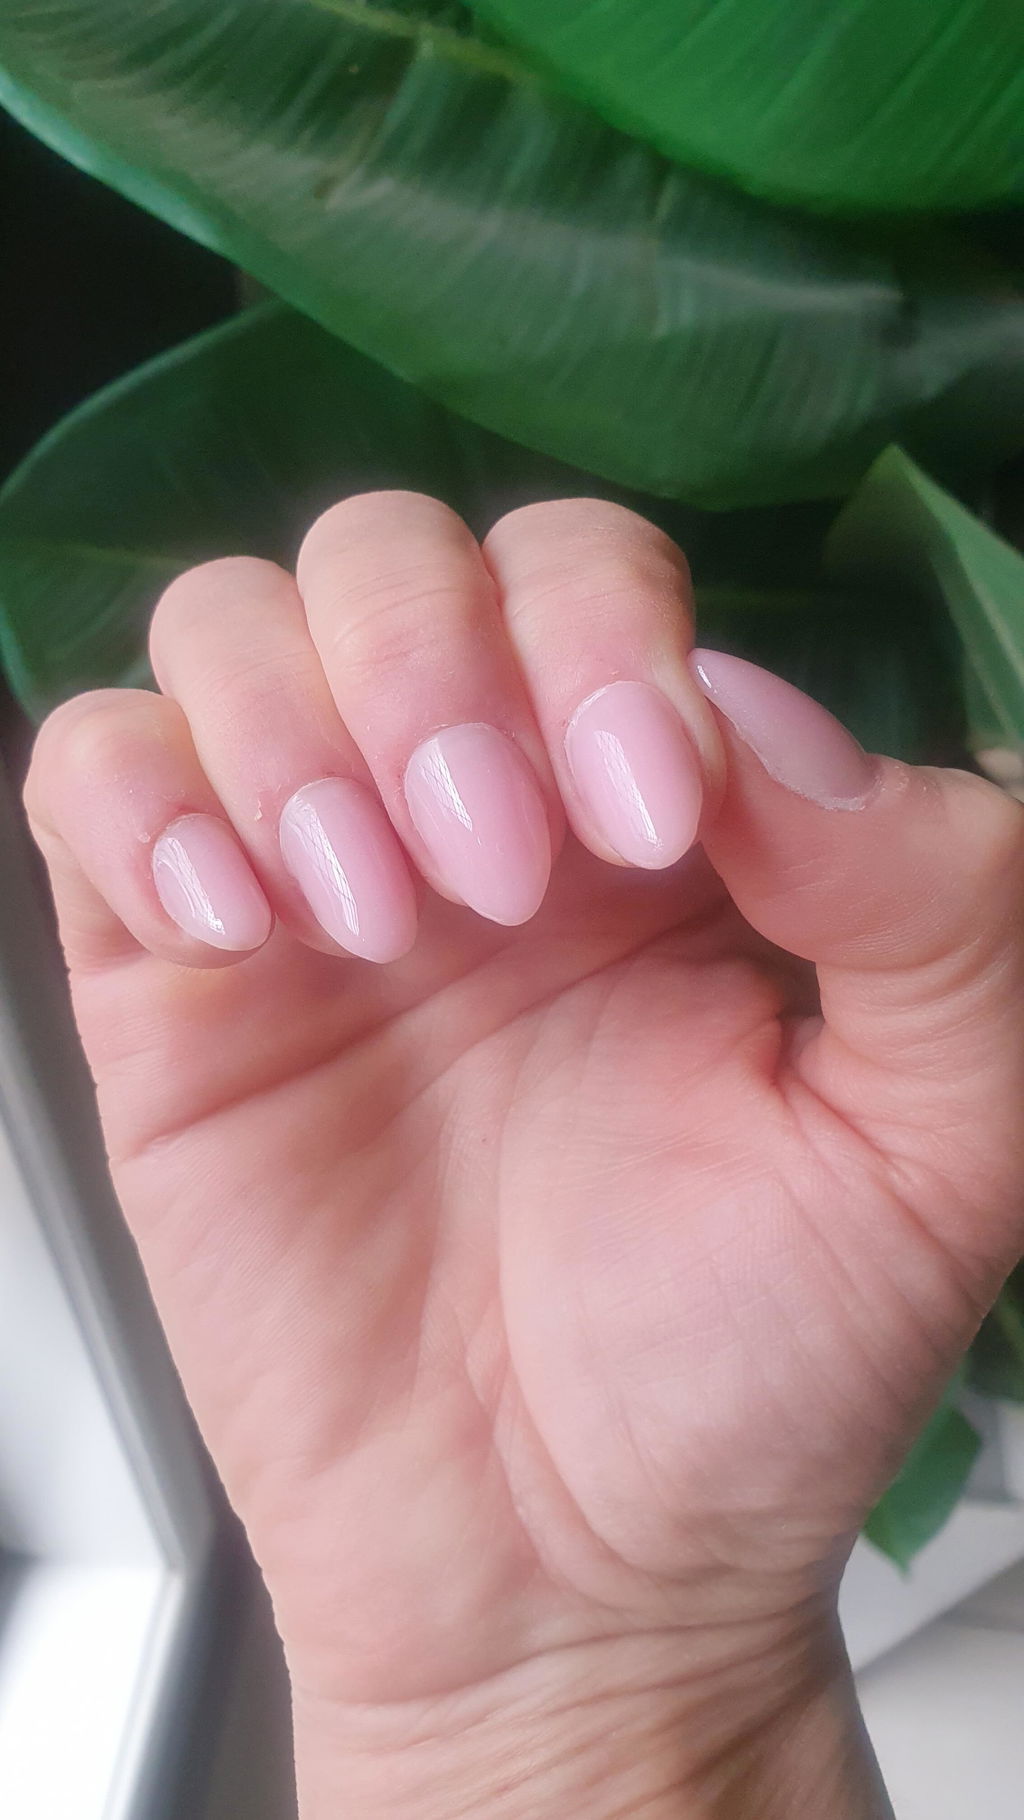
Yes! Once the PolyGel enhancement has been fully cured, shaped, and refined, you can finish the nails with gel polish or nail art. Complete the enhancement first, then remove filing dust and cleanse the surface so the next layer sits cleanly over the nail.
Gel polish is useful when you want to refresh colour, adjust the finish, or create seasonal looks while keeping the PolyGel length and structure in place. You can also add suitable nail art, including gel designs, glitter, rhinestones, stickers, foils, or flakes, depending on the look you want to create.
This flexibility makes PolyGel a great base for both home users building their own collection and nail techs offering clients more design choices. Here, we also offer a wide range of gel polish colours and nail art accessories, so you can build different finishes around the same enhancement system.
Once the colour or design is complete, apply a compatible top coat and cure it to seal the surface, protect the design, and complete the set with a smooth, salon-quality finish that’s ready to wear.
What mistakes should beginners avoid when using this kit?
Beginners can get strong results with this kit, but the main mistakes usually come from using too much product, placing it unevenly, or rushing the structure.
First, avoid overfilling the dual form, as excess PolyGel can spread into areas where you do not want bulk. Keep the product thinner near the cuticle and sidewalls, then leave slightly more through the centre of the nail for strength and apex.
You must press the filled form onto the nail with control and just enough force. Too much pressure can push product out around the cuticle, sidewalls, or free edge, making the enhancement harder to clean before curing. You should also take a moment to check that the form sits straight and that both sidewalls look even from the client’s view.
While the product is still workable, gently remove any squeeze-out and smooth the underside if necessary. Slowing down at these points helps create a cleaner shape, better balance, and less filing after curing, which is especially useful when you’re building confidence with the system.
Over time, you’ll get more familiar with how the product moves across the nail during application.
What’s the difference between PolyGel and acrylic nails?
Acrylic is made by combining liquid monomer with powder polymer to create a bead that begins hardening as it sets. That means you typically work within the product’s setting time while shaping the enhancement. On the other hand, what you get from a polygel kit is a thicker, paste-like product that stays workable until it is cured, giving more control during placement and shaping.
PolyGel combines features of gel and acrylic, and it needs curing under an ultraviolet or light-emitting diode nail lamp. Acrylic does not need lamp curing, as it hardens through its own setting process.
The best choice depends on the application style you prefer, the system you are trained or most comfortable with, and the type of enhancement you want to create. Both systems can support professional-looking nails, but the handling, timing, consistency, and curing process differ.
It helps to choose the method that suits your skill level, service style, existing setup, and working pace for each set you complete in regular salon practice.
How do I care for PolyGel nails after application?
After using this kit, protect the finished enhancements by treating them as nails, not tools. You should refrain from using them to open packaging, lift lids, scrape surfaces, or pry items apart, as these habits can place pressure on the enhancement and affect wear.
Additionally, build simple aftercare into your routine, including cuticle care once the application is complete. We recommend applying Nurture Oil to help condition the skin and nails after your set is finished.
As your natural nails grow, you can also check for changes such as lifting, separation, or areas that feel loose, especially around the cuticle or sidewalls. Don’t pick, peel, or pull at affected areas, because this can stress the natural nail underneath. Instead, maintain the set properly and address issues early.
Consistent daily care helps keep the nails looking neat as they grow out, and we offer nail care essentials that can support your maintenance routine between applications or appointments. Whether you’re doing your own nails or looking after clients in a salon setting, we support regular bookings and repeat wear between professional and home routines.