Frequently Asked Questions
How do you choose the correct size for soft gel nail tips?
Using these nail tips can raise many practical questions, especially if you’re just starting to work with them across different clients and nail shapes. That’s why the right full cover nail tips for you are those that fit comfortably from sidewall to sidewall of the nail you’re working on.
Ready made nail tips and extensions should cover the natural nail without needing to be forced into place. If a tip sits too snugly, it can leave parts of the natural nail exposed or press against the sidewalls, creating discomfort and compromising retention. An oversized tip, on the other hand, may overlap onto the surrounding skin and produce an inaccurate fit that affects the finished look.
Width and curvature can differ noticeably from finger to finger, so the correct size for one nail may not suit the next. When a natural nail falls between two tip sizes, go with the slightly larger option. You can carefully file the gel extension tips along the side edges to create a more precise match.
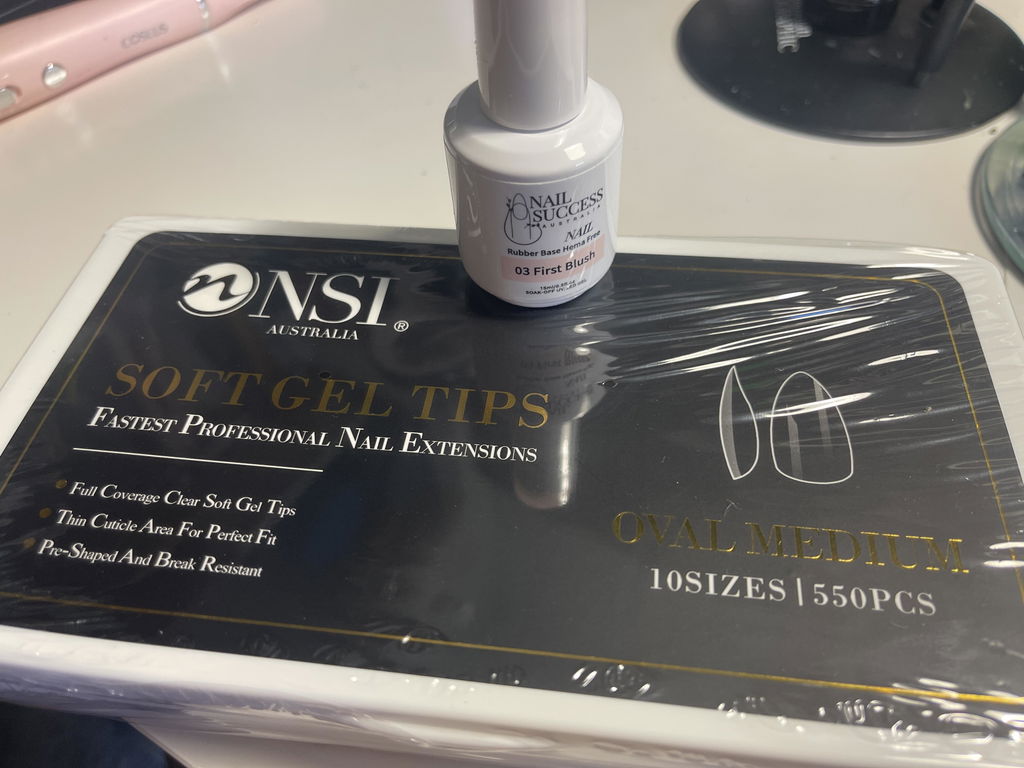
NSI Australia’s Soft Gel Nail Tips | Full Cover Gel Extensions come in multiple sizes per set, with pre-shaped nail tips available in 10 or 11 sizes depending on the style. That variety makes it easier to find a close fit across all ten fingers, even when your clients have varying nail beds.
How do you prevent gel nail tips from lifting or popping off?
To prevent the nail tip from lifting or popping, push back the cuticle and eponychium, clean the nail plate thoroughly, and gently remove the surface shine. This way, the soft gel tip bonds directly to the natural nail.
Apply a dehydrator and primer as recommended to the natural nail. Then apply primer to the underside of your nail tips to improve adhesion between the tip and the nail plate. Watch out for air bubbles during placement, as even small pockets of trapped air can weaken the bond and create lift points. If you spot visible bubbles, remove the tip and reapply it before curing.
For the curing step, hold the tip firmly in place for a 5-second flash cure, then follow with a full 60-second cure under an LED/UV nail lamp.
NSI Australia carries a variety of nail prep essentials designed to help you prepare the nails for extensions, support optimal adhesion and keep the nails healthy throughout the process. We also have curing lamps fit for beginners and professionals alike, so you can match your lamp to your workflow and client volume.
What is the difference between soft gel nail tips and acrylic nail extensions?
Unlike acrylic extensions, soft gel tips for nails are pre-formed and cured under a lamp. Acrylic extensions take a different approach: they allow you to create a sculpted nail using liquid monomer and acrylic powder, and they harden through a chemical reaction without needing a lamp.
Because the shape and length of soft gel tips come ready-formed, application tends to be quicker and involves less sculpting work. Acrylic, on the other hand, gives you more control to build salon nail extensions into your preferred shape and length from scratch.
Each system also feels different on the nail. Soft gel extensions provide a lighter, more flexible feel and can usually be soaked off with acetone when it’s time for removal. Acrylic offers a sturdy, durable structure that can be infilled as the natural nail grows out.
For those still building their skills, soft gel tips can be easier to work with. Acrylic requires more practice to master the liquid-to-powder ratio and sculpting technique, and consistency takes time to develop.
Can you shorten or reshape these nail tips after application?
Yes, gel nail tips can be shortened or refined after application if you want to adjust the finished length or shape. This gives you flexibility to tailor each set to your client’s preferences or correct proportions once you can see the full result in hand.
One advantage of working with professional gel tips is that they can be filed and reshaped after curing to achieve your client’s preferred length and contour. Filing to refine proportions is among the easy application tips for beginners, since adjustments can be made gradually without removing the entire set.
Once the tips have been applied and fully cured, carefully file the free edges and contours to achieve the preferred shape and length. To achieve natural-looking nail extensions, use a medium-grit nail file for shortening and shaping, then switch to a finer grit for smoothing. Work in one direction where possible to keep the edges clean and reduce the risk of micro-fractures in the gel.
After refining the shape, gently buff the surface and cleanse the tips as needed before moving on to gel polish, nail art or your chosen finish.
When should you remove and replace soft gel nail tips?
Your gel nail tips do not always need full removal if they are still holding securely. If the tips are still in good condition and are well bonded to the natural nail, you can refill them instead of removing them completely.
That said, not every nail will grow out at the same rate or wear the same way. If some nail tips remain intact while others have lifted or deteriorated, you may refill the secure ones and fully remove and replace the others individually.
Conversely, any tip that has deteriorated, cracked or is no longer bonded securely to the natural nail should be removed rather than refilled. Refilling over a compromised tip risks trapping moisture or debris between the product and the nail plate, which can lead to bigger problems down the line.
If removal is necessary, gently file the surface to remove the top seal. Soak the tips with acetone and carefully remove the softened product. Continue soaking the gel if it has not fully broken down rather than forcing it off.
Prying or scraping product from an under-soaked tip can damage the nail plate and compromise your client’s next set. Patience during removal protects the natural nail and sets you up for a cleaner reapplication.



 Trusted by Thousands of Australian Nail Technicians