Top Ombre Nail Ideas To Refresh Your Look
Ombré nails are a nail art trend that’s here to stay. Stunning and easy to achieve, they can be adapted to every style and nail length. Ombré nail designs involve a natural transition from one shade to another, letting you play with as many shades as you wish.
Whether you prefer understated elegance or eye-catching statements, mastering ombré nail art techniques opens up a world of creative possibilities. In this post, we'll delve into top ombré nail designs that add extra zing to your look.
1. French ombré nails
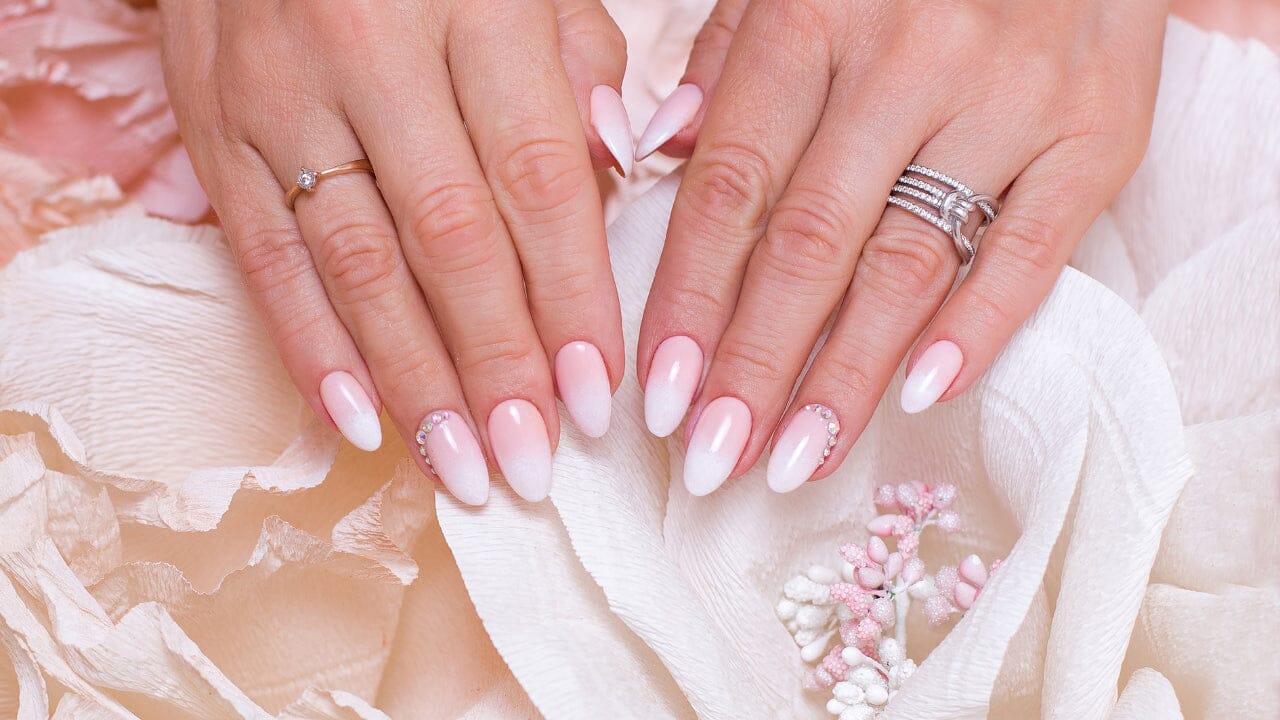
This elegant take on the classic French manicure blends the plain white tips gracefully into a soft, natural pink base. The result? A dreamy transition that looks both chic and timeless.
Choose a delicate pink gel polish as your base colour. While it’s still tacky, gently dab a sponge with white gel polish starting at the tip, softly tapping it back towards the middle of the nail.
If needed, reapply both the pink and white using the sponge to enhance the smoothness of the fade. This might take a few tries to perfect, but the results are absolutely worth it.
French ombré nail art is perfect for brides, prom-goers or anyone who wants to add elegance to their look.
2. Pink Barbiecore
Channel your inner Barbie with fabulous pink ombré nails! Start by selecting at least two shades of pink. For a true Barbiecore vibe, mix a soft pastel pink with a daring neon or bright bubblegum pink.
Apply both shades to a makeup sponge, overlapping them slightly in the middle. Dab the sponge onto your nails, pressing lightly to blend the colours where they meet. Repeat this step until you’re happy with the intensity of the ombré effect.
3. Glitter ombré
Why settle for the ordinary when you can sparkle? Glitter ombré nail designs add instant glamour to any look. First, choose a solid base colour, such as a subtle nude or a deep purple. Then, select a glitter polish or loose glitter flakes in a fine to medium grain.
Apply your glitter polish from the tip of the nail and fade towards the middle. If using loose glitter, dab a sponge or a fan brush lightly into the glitter, then press it onto the tips of your nails, moving slightly toward the nail bed to create a fading effect.
Add more layers of glitter closer to the tips to intensify the sparkle and create a denser look at the ends.
4. Black ombré
There's nothing more glamorous than black ombré nails. Whether you're channelling minimalist elegance, gothic glamour or an edgy punk rock vibe, black ombré nails are the perfect canvas for self-expression.
Be sure to choose a lighter colour as your base shade to complement the black — options like cool grey, soft pink or even a shimmering metallic silver work wonderfully.
5. Coffin ombré
Named for their unique coffin shape — bold, flat tips with a slightly tapered body — coffin ombré nails are the perfect way to make a stylish statement. Start by filing your nails into a coffin shape. You can also use acrylics to achieve the desired length and shape.
Once you've nailed the shape, it's time to bring on the colour with traditional ombré techniques. Blend your chosen hues seamlessly from tip to cuticle to achieve a striking gradient, enhancing the nail’s edgy contour.
6. Mermaid ombré
Carry the magic of the ocean at your fingertips with whimsical mermaid ombré nail art. Set the tone by using tropical shades like teal, aqua, turquoise, light blues and greens. You can also add a pop of lavender or pink for a sunset-on-the-water feel.
Start with the lightest colour at the nail bed and blend towards darker shades at the tip. The key here is seamless, soft transitions that mimic the ocean’s own gradients.
7. Marble ombré
Just like the art of marbling, where no two patterns are the same, marble ombré nail designs celebrate your unique style. This trend blends the distinct swirls of natural marble with dreamy gradients, creating a one-of-a-kind look on each nail.
To create the marble effect, you’ll need a detail brush and a few drops of your darker polish mixed with a drop of nail polish remover to thin it out. Gently swirl these lines over your ombré base, mimicking the natural veins in marble.
You can add veins in a third colour, like gold or silver, for an extra pop of chic. Then, use a clean brush lightly dampened with nail polish remover to softly blend the edges of the marble veins.
8. Watercolour ombré
The watercolour trend brings softness and whimsical flair to your nails. To achieve the translucent watercolour effect, you'll need to dilute your selected polishes.
Mix a small amount of polish with a few drops of nail polish remover on a palette or piece of foil. Then, use a thin artist’s brush to apply your diluted polishes and gently dab and blend them.
9. Matte ombré
Matte nails are beloved for their non-shiny finish and delightfully smooth texture. They're versatile, complementing different ombré designs from shimmering to minimalist.
To whip up your own matte ombré nails, just follow the usual ombré techniques, then seal the deal with a clear matte top coat. This magical touch transforms the glossy look into that signature velvety texture we adore!
Achieve flawless ombré nails with NSI Australia
The secret to perfect ombré nail art is a perfect blend of technique and high-quality products. At NSI Australia, we offer a range of nail art tools and accessories that let your creativity shine with every manicure.
Shop now and make your nail art designs stand out!
